


 Newsletter
 Online Store
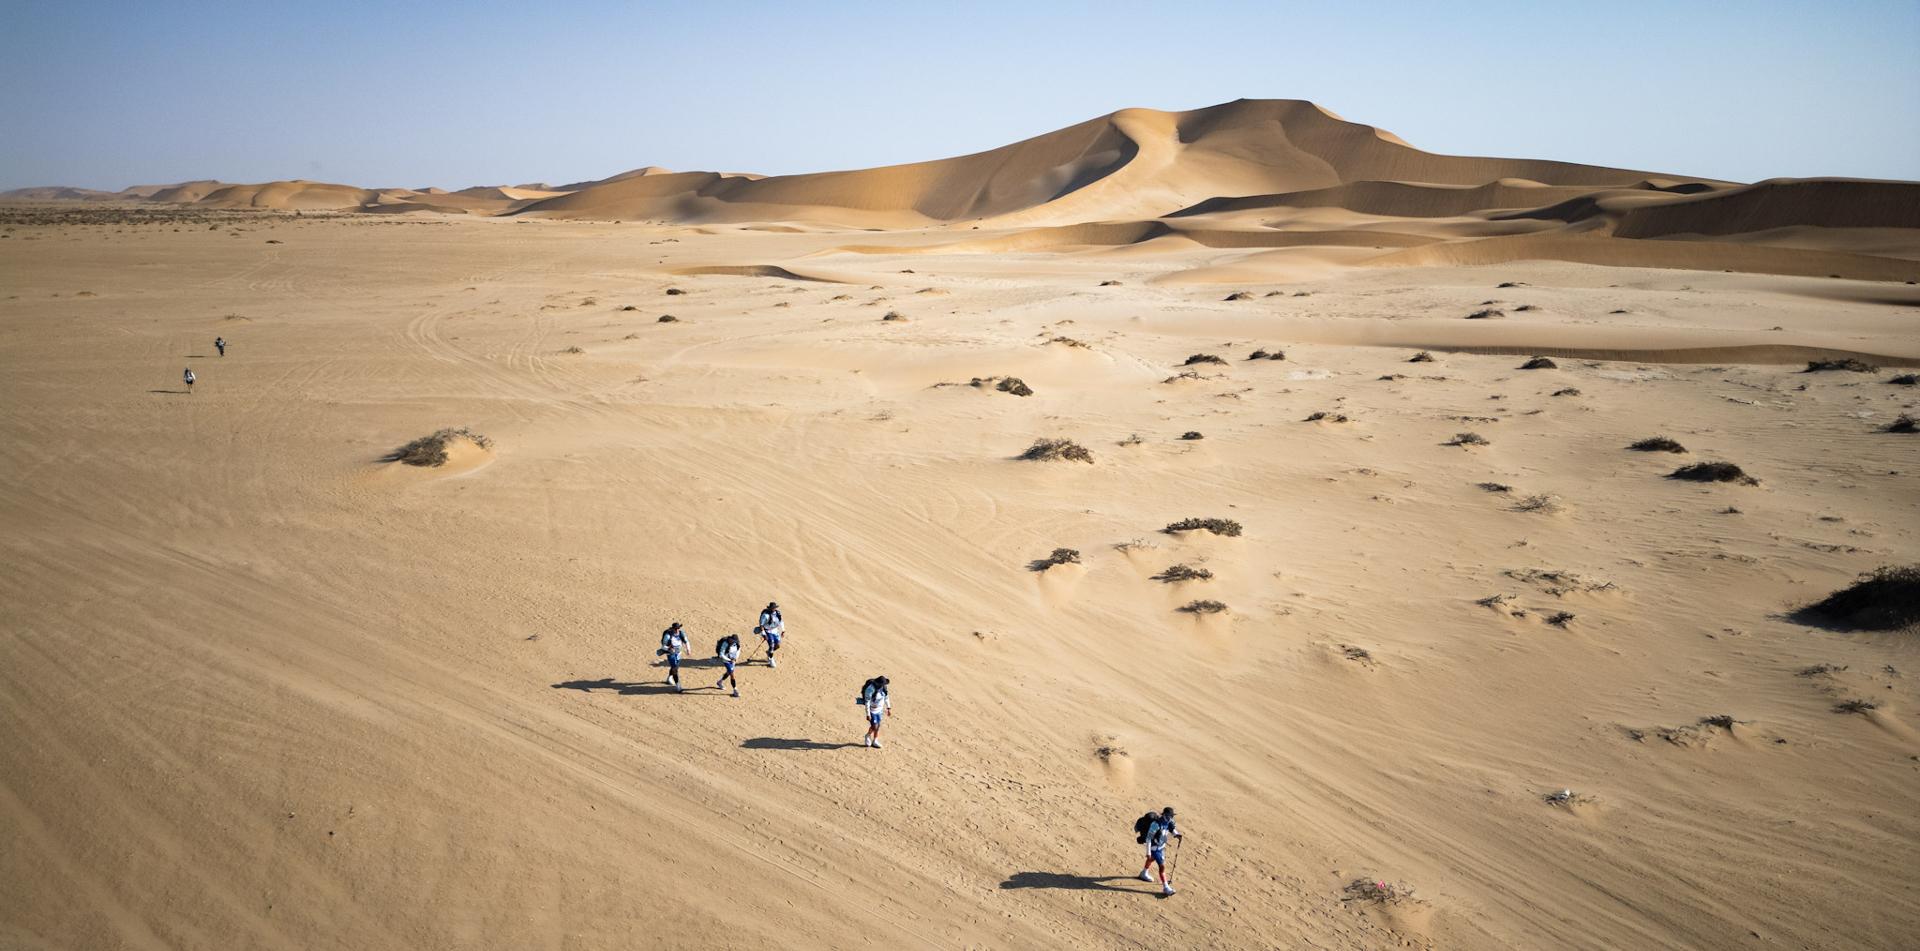
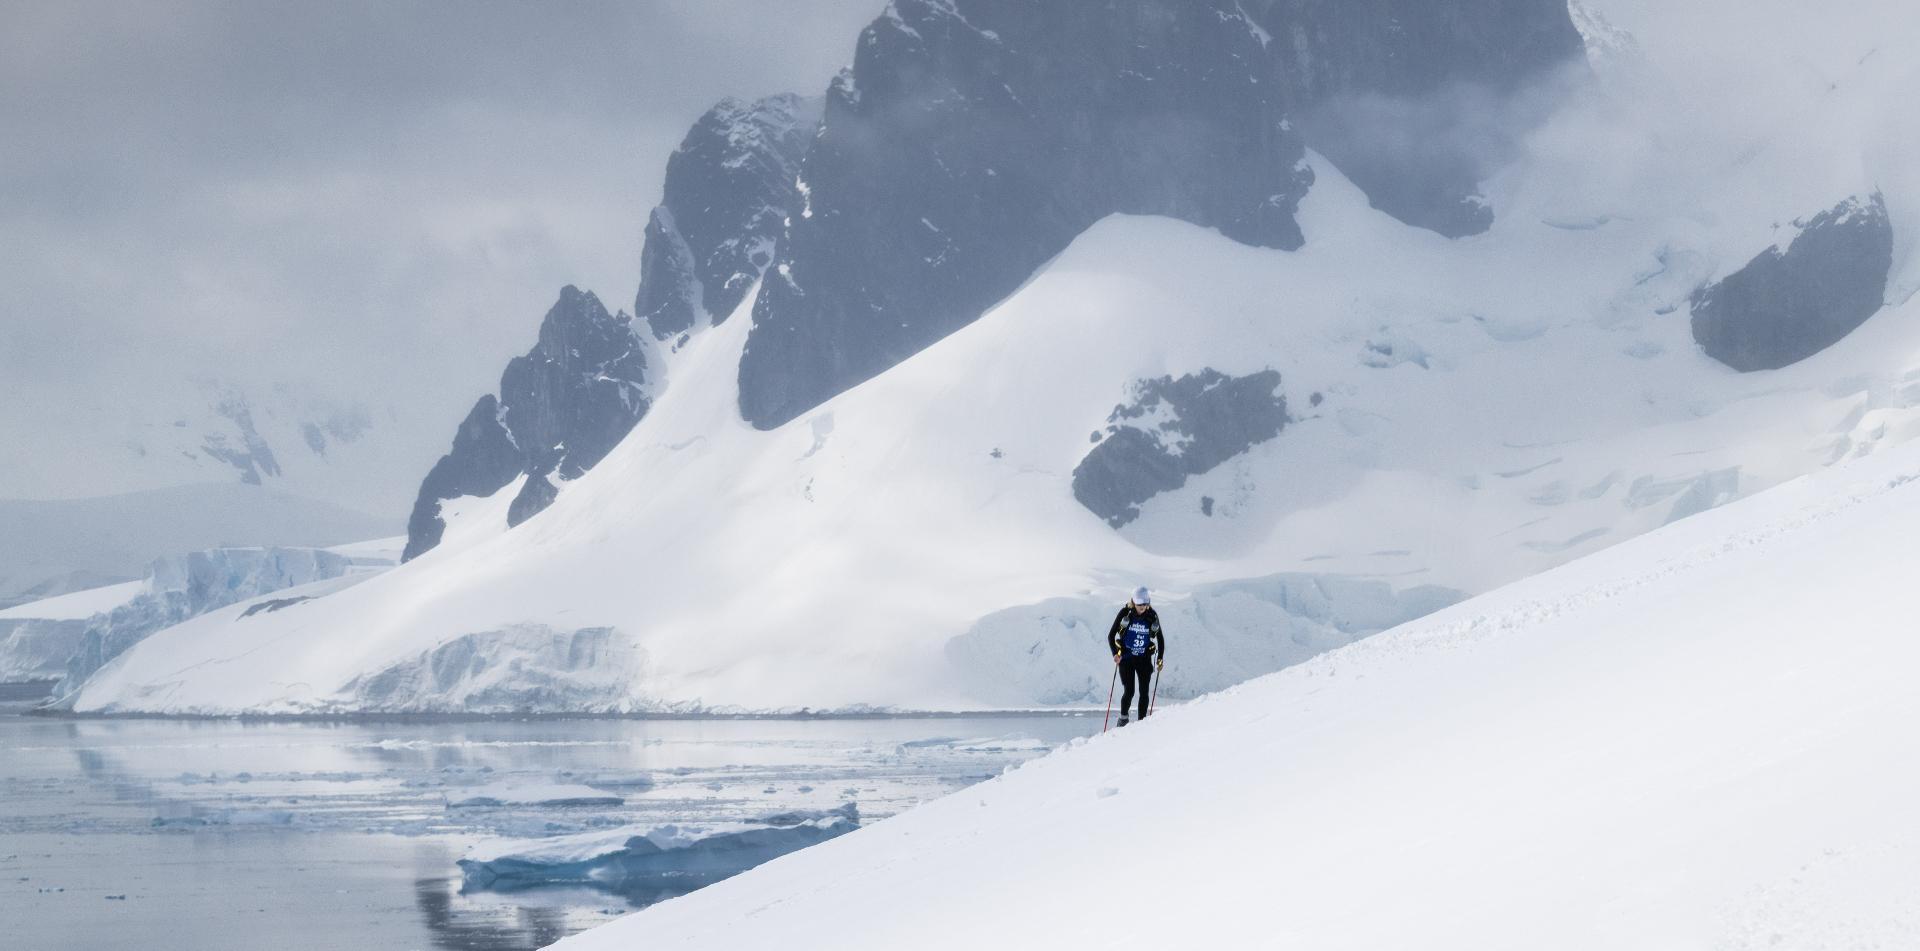
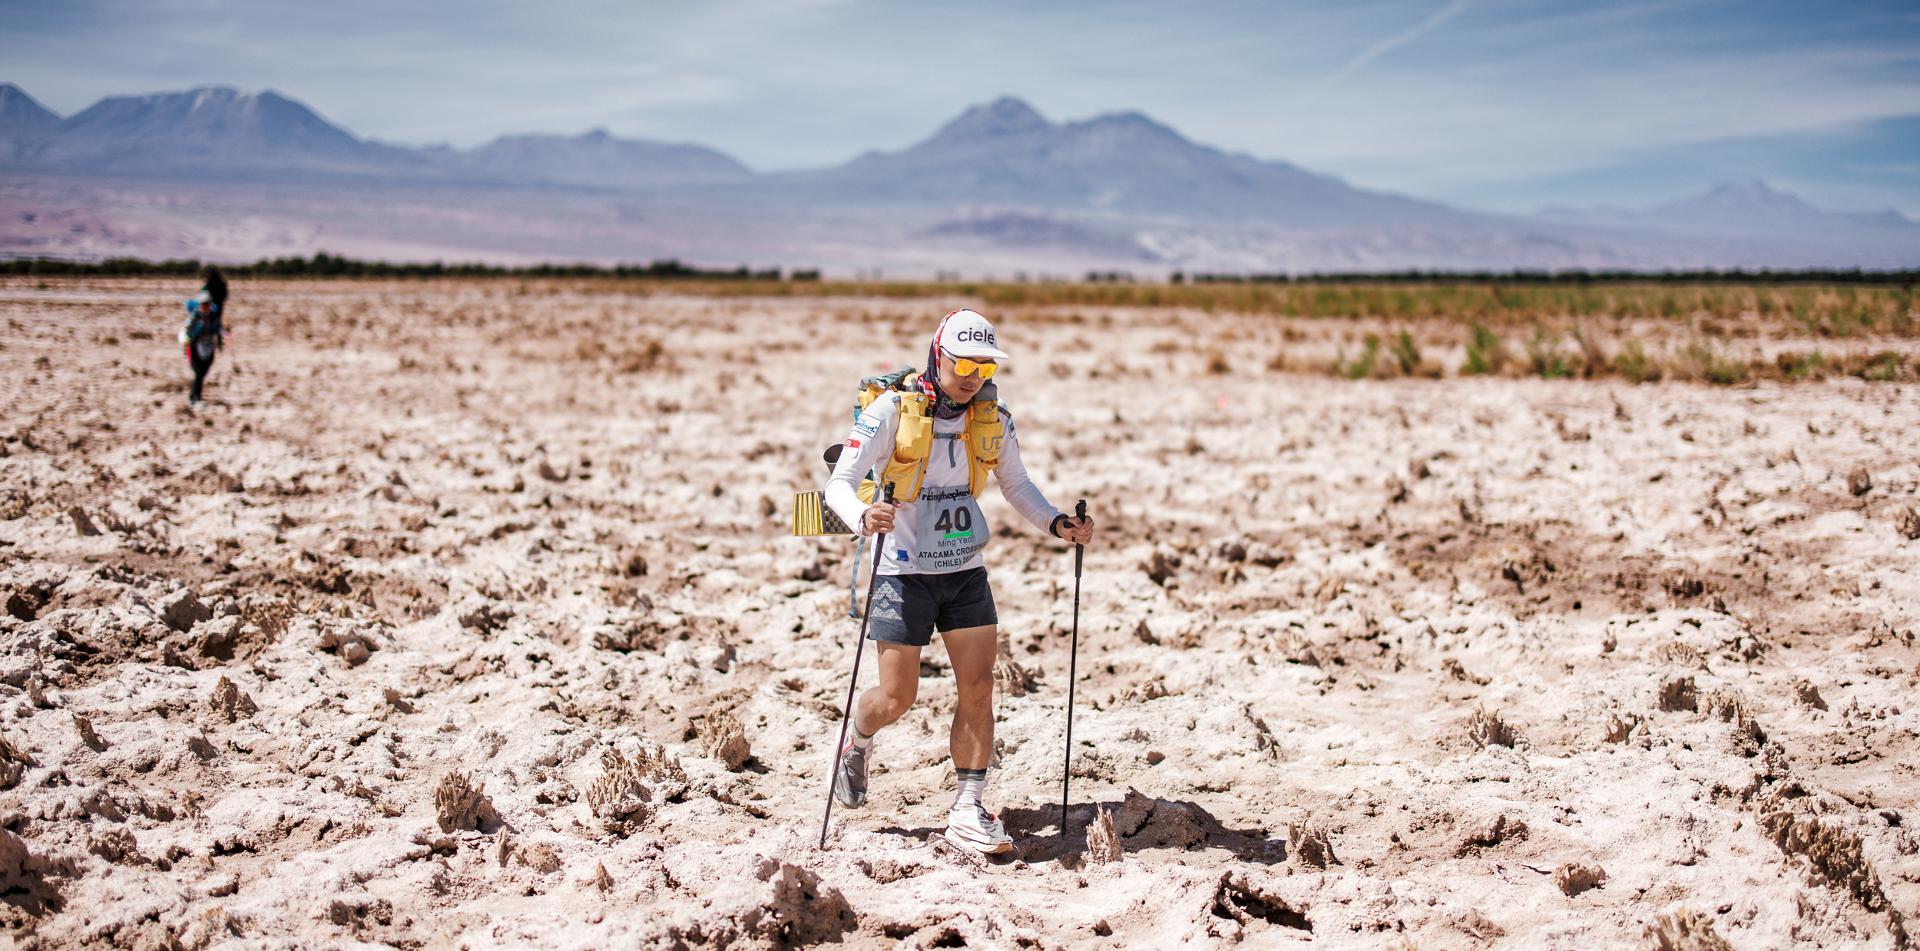
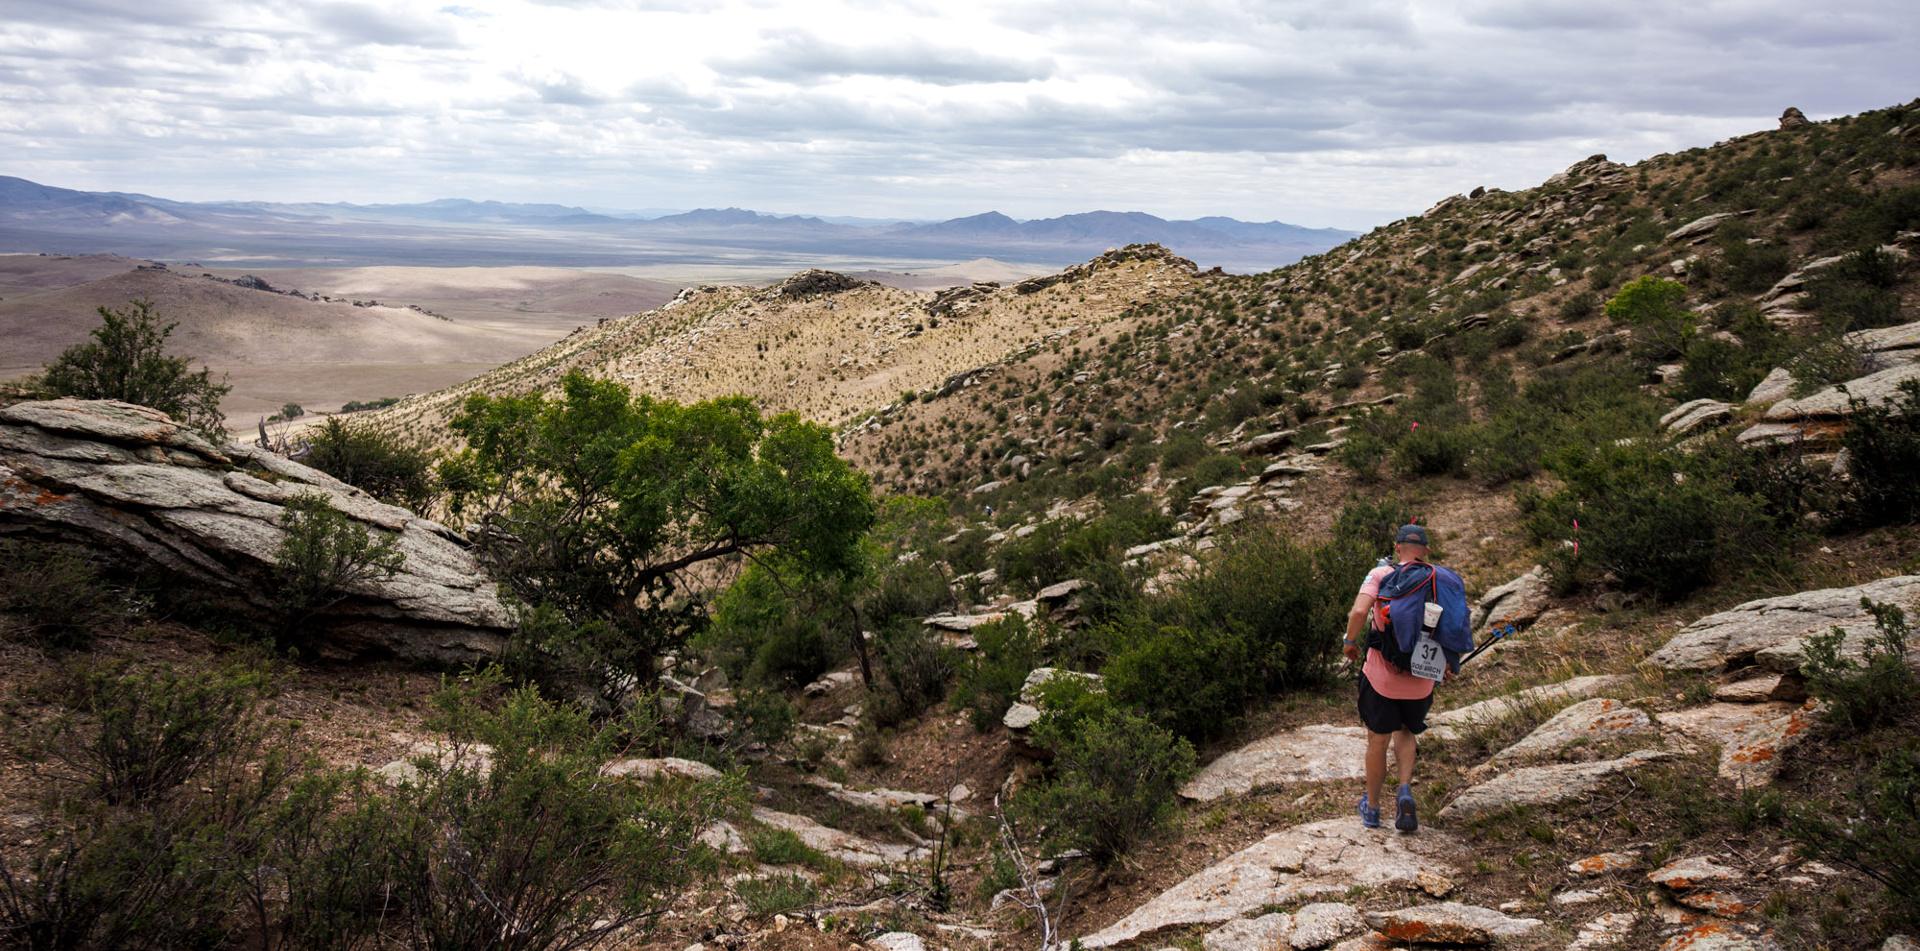


Trekking Poles are a PLUS for ultramarathons, especially if hikers/runners must carry a backpack / rucksack
By Loic Le Jannou
Always use two poles, rather than just one, to take maximum advantage of the upper body's numerous muscles. Arms in the back and shoulder muscles are at least as strong as leg muscles. Poles are the indispensable transmission to the ground. They will greatly help reduce the legs' efforts, allowing much longer hikes in much better comfort.
Choosing the Right Poles
For long-distance hikes, use aluminium poles which are much stronger than carbon fiber. The weight is secondary to sturdiness. Do not use flimsy poles that bend whenever leaning on them. Prefer size-adjustable poles rather than fixed-size as optimal pole size depends on terrain and elevation. Choose poles with a fairly wide and comfortable handle top (cork, EVA foam), with strong and wide straps tightly adjusted to the wrist. Avoid thin/narrow handle tops.
Very important! The dominant doxa is that the elbow should make a 90-degrees angle when poles are vertically on the ground. This “rule” only works for use on flat or uphill terrain. For downhill, poles should be shorter, not longer (explanation below in function #3). Hence, it is important for poles, when shortened to their minimum size, to be about 63-68 cm (24.8-26.8 inches) smaller than one’s height in steep downhills.
Fingerless palm-padded gloves are the essential accessory that should be systematically used with poles to prevent blistering and abrasion, especially in downhills. A hand must grab the pole from underneath the strap loop.
Trekking Poles Have 5 Functions
1) Propulsion
2 main techniques: “PULL” & “PUSH”
“Pull Technique” – Nordic ski propulsion style to be used for regular pace.
a) When pushing down, the hand must be totally relaxed, almost open, to prevent tightening forearms. Never hold the poles by grabbing them tightly. The strap is essential to transmit arm/back force to poles. It should not be done with fist tight around handles.
b) Front pole tip decides the stride length. The opposite foot must land exactly opposite pole tip. Pole tip touches the ground always BEFORE the foot and the arm waits for the foot to push simultaneously.
c) The pole handle must always be ahead of the pole tip, hence the pole leans forward to about 70 degrees.
d) There should be a 45-degree angle between the pole and the wrist.
e) When pushing down, the elbow should make a 90-degree angle.
f) The arm should be as close as possible to the body.
g) Distance between the pole tip and opposite foot should be of about 20 cm (7.9 inches) for maximum efficiency when pushing.
h) Thanks to poles, a longer stride is possible and even recommended to activate different leg muscles than those usually activated, allowing a better distribution of efforts for all muscles. A longer stride without poles when walking would not be possible as the center of gravity would be too far behind but pushing on poles helps bringing forward the center of gravity and allows a faster walk without extra energy requested to the legs.
i) In case of a difficult uphill or sudden obstacle to climb over, poles offer the possibility to use 3 limbs simultaneously (2 arms + 1 leg) instead of 2 limbs only (1 arm + 1 leg) without extra fatigue on the legs. Position both poles in front, then bring a foot between them on the exact same line, then and only then the 3 limbs push at the same time to pass the obstacle or power climb. When 3 limbs work in unison, the effort distribution will make it much easier for each muscle. Without poles, this situation often ends up with cramping as legs have to provide a sudden, strong effort.
“Push Technique” – Skating propulsion style used when trail is not completely flat, with occasional steps or rocks to jump over.
Palms must be positioned on top of the handles (like for the downhill technique explained below). Poles must be stuck into the ground simultaneously, slightly behind the feet. Palms push on top of poles engaging triceps to push the body forward, allowing a leap forward. Legs don’t need to push, core only lifting legs up to make the feet land on the upper obstacle. Instead of adding strain on legs, it relaxes them while giving the whole body a thrust forward. A great way to rest legs while climbing small obstacles without loss of speed.
2) Balance
a) Poles obviously offer the possibility to stabilize one’s position with 3 points of contact at any given time, greatly helping comfort and confidence downhill, on rocky sections, on slippery areas (wet wood), etc.
b) It is strongly advisable to practice stepping on rock tips whenever possible as rock tips are always cleaner and flatter (!) than rock sides and around rocks. It also helps to improve the feeling of balance, and strengthens feet and ankle muscles. Poles give the safety of such practices. It also becomes very satisfactory to feel you are mastering the balance and having fun.
3) Downhill Suspension and Speed Control
a) This essential function is massively ignored by hikers/trail runners because trekking poles are derived from Nordic cross-country skiing, which uses poles only to propel skiers forward on flat or uphill, using the same way to hold the pole handles. Using poles for downhill is unique to hiking/trail running and requires a different way of holding the handles. This function will give its users a massive advantage in saving their knees, hips, ankles, and leg muscles in the long term. It will revolutionize hiking/trail running as it will solve the major issue met by all hikers/trail runners: downhill knee/leg pain.
b) Knees are the only brake available to slow down. Hence, over long distances or steep, long downhills, muscles and tendons get tired and prone to inflammation likely to leave long-term injuries and bad memories. Without poles, any body part (and backpack/rucksack) are a dead weight that legs and knees must carry. Poles allow many of the upper body muscles to take over this massive work like crutches do. Latissimus, triceps, deltoids and trapeze can all relieve the major part of the burden if poles are used efficiently.
c) It implies shorter poles on top on which palms can push to lift the body upward, mechanically relieving the shock knees would have to suffer. For every step down, each knee has to absorb the shock created by the whole body + equipment weight. With poles, this weight can be reduced anywhere from 10% to 80% depending on technique, practice and upper body muscular situation. Also, this depends on the poles' handles. The wider the pole handles, the easier. People with strong upper body muscles will find their suffering days are over with poles. Their massive body muscles will not only be a disadvantage but will become a very strong when hiking. Hikers with weaker upper body muscles using poles regularly will get a better body and will improve their walking performance.
4) Jumping Over Obstacles Effortlessly, Pole Vault Style
This function is great fun as it gives the impression of flying. However, it is not expected to be done with a 10kg+ rucksack/backpack so not applicable to RacingThePlanet Ultramarathoners. You can see some demos of this on my Instagram videos.
5) Prorection / Terrain Assessment
a) Poles are a very good tool to remove spiderwebs or scare snakes, dogs, or other animals.
b) Poles are also very useful when the hiker has to walk in thick grass, bushes, rivers or marshes. This allows you to detect holes or obstacles.
Videos with explanations showing the 5 functions are available on Instagram @Loic_the_trekker.
You are welcome to contact Loic Le Jannou for further details or explanations.